Line Managers: the New Way to Quickly Set Up Your Kite. True or False?
There are various line managers on the market, let's deep into a couple of them with quite different concepts.
Probably most of the kiters have already seen these kind of devices, used to manage the lines.
They promise to make the boring line connection process easier and faster, but is it true?
I tested two different types of them myself and here's what I found out.
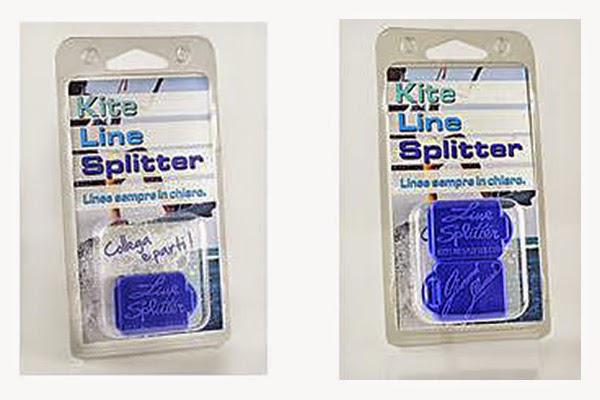
Kite Line Splitter
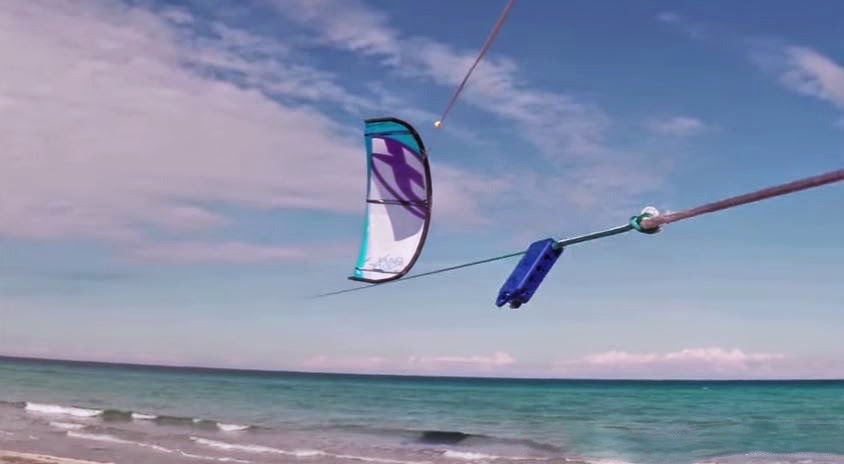
Looper
Even though both have the same the goal to help you set up your kitelines as fast as possible, those two systems are pretty different, as you can see from their appearance. First we will analyze both step by step as they are supposed to function, and then I will give you my impressions in the field trial.
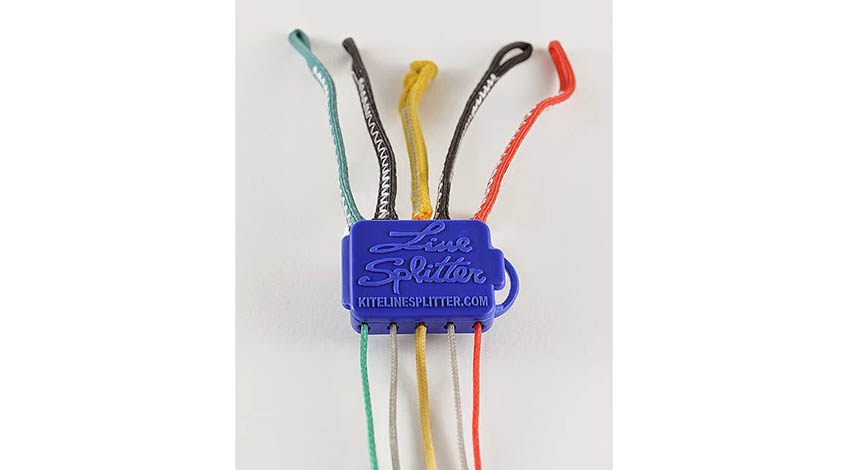
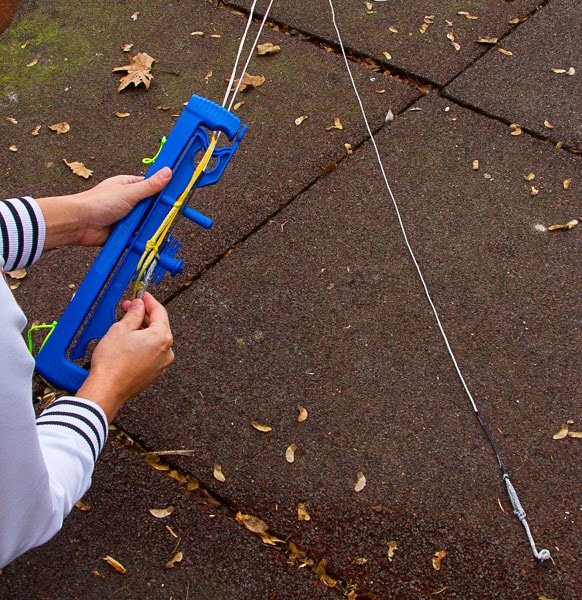
Kite Line Splitter
This device is pretty simple and light to carry: it fits in a open-able box that can hold the four or five lines attached on your bar. I tested it for one month when I was a chief instructor at AK kiteschool in Salento this summer. The school used it to make student gear set up process faster.
Let's see how it works:
First Kite Line Splitter installation:
- Prepare bar and lines as usual;
- Setup the lines as if you were preparing the kite to fly;
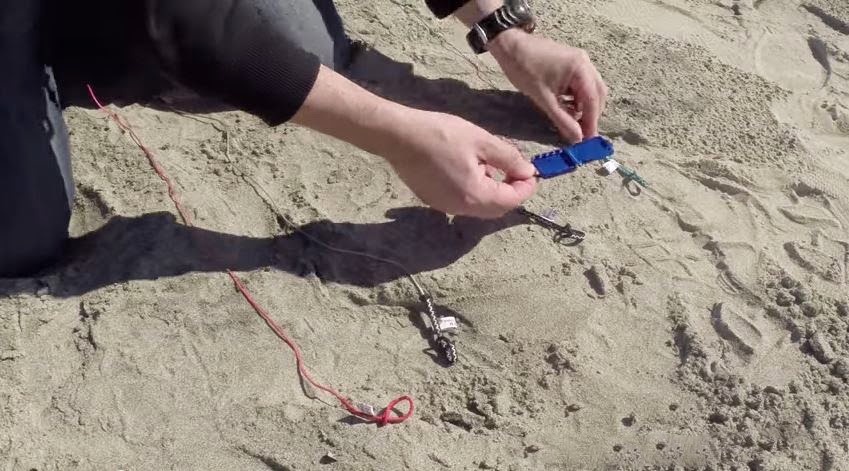
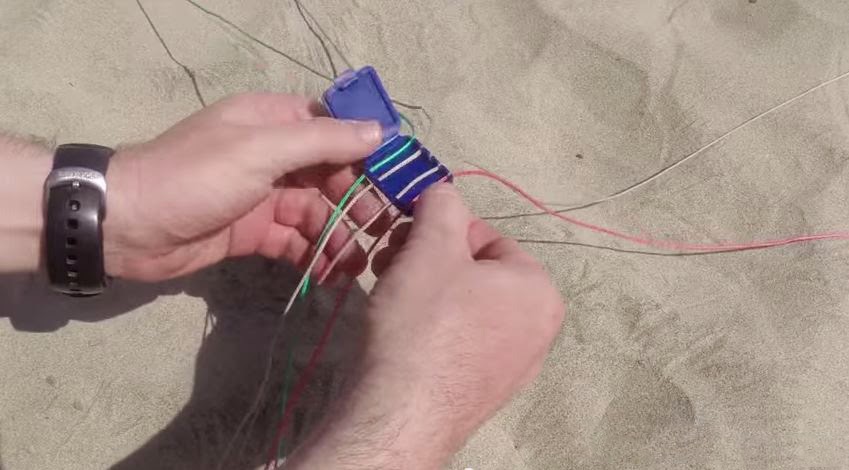
- Start putting the lines in the proper order inside the splitter;
- Once finished, close the line keeping in mind the upper side you used, not to invert the kite lines (and this might be the tricky part if you don't pay attention). This operation is very important because otherwise you might invert the order of line connection, resulting in a reverse bar linkage;
- Wind back the lines on the bar.
Kite setup:
- Attach the lines to the kite (no need to unwind the lines first since they'are already in the proper order), paying a lot of attention on positioning the upper side of the splitter as not to invert the line order;
- Unwind the lines and check if there are no tangles or knots (sometimes it happened that the lines had tangles and pulling them to get them straight needed some expertise);
- Fly the kite.
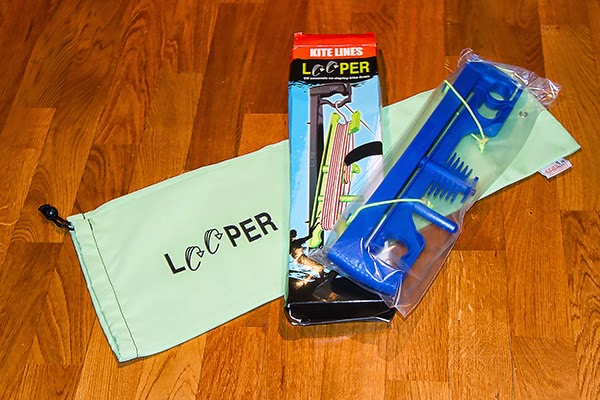
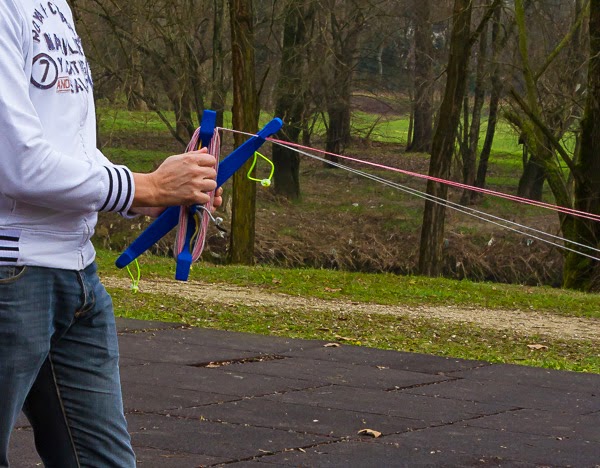
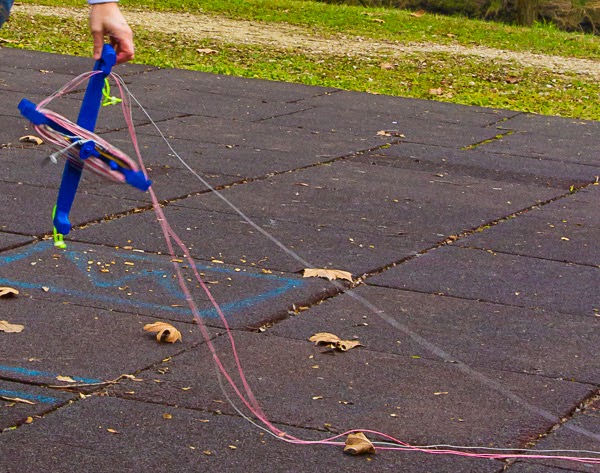
Looper
The second line manager was kindly sent to me for a test from Ben, the manufacturer. I spent a whole morning winding and unwinding lines to find out how it performed. So let's see how it works:
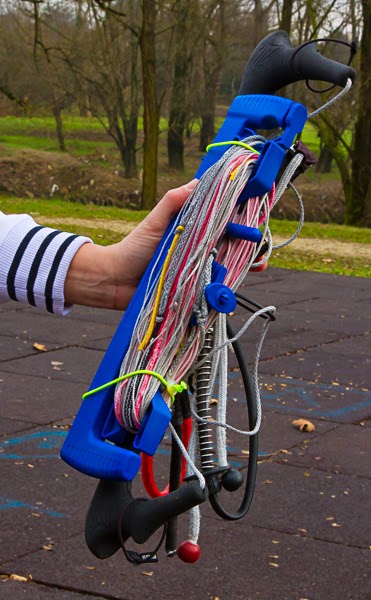
First looper installation (actually you can perform this operation just at the next kite session end, since it is exactly how it normally works):
- Prepare bar and lines as if you were about to connect them to the kite;
- Connect the lines to the Looper in the center on the special comb-shaped connector to keep them in order (this operation is pretty easy since the device has a clear 'up' indication where you're meant to make the lines pass through);
- Wind the lines on the Looper, paying attention to give them a slight tension in order to make the operation easier and the lines straighter;
- Block the Looper and the bar together using the bungees;
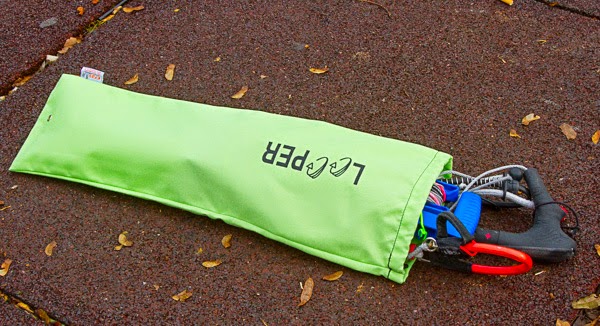
- Put the Looper-bar system in the sleeve to protect them.
Kite setup:
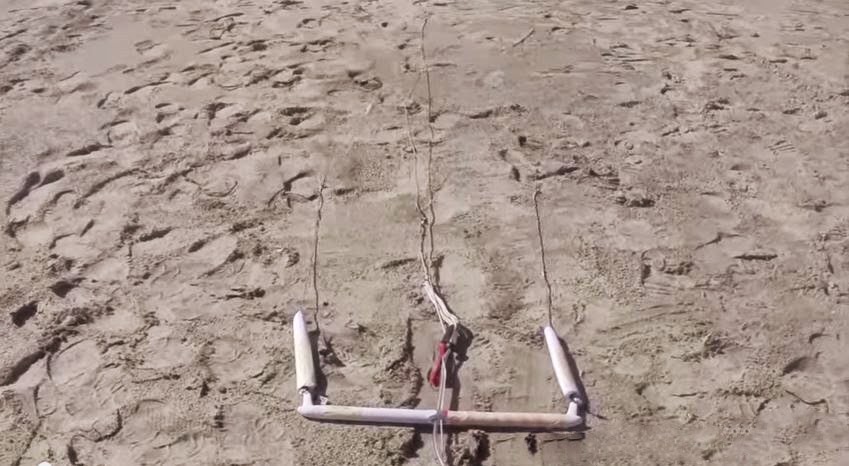
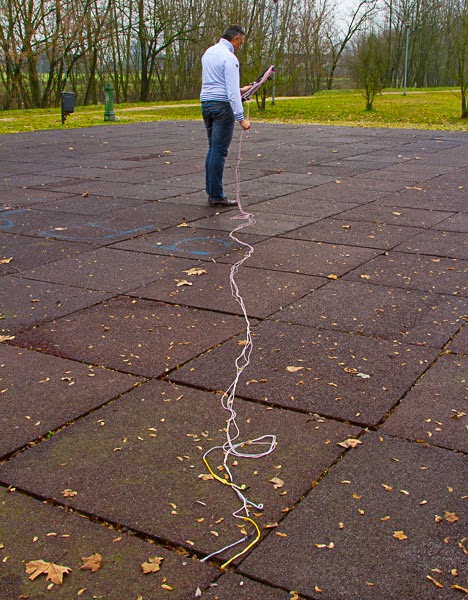
- Unwind the lines from the Looper by just putting the bar on the ground and walking away from it while holding the device in the proper position (this results in a very quick operation, but you have to make sure the bar is blocked by some sand, or in some other way, in order not to drag it with you, since you need a little tension to unroll the lines properly: this precaution is mostly the same as you were unwinding the lines in the traditional way)
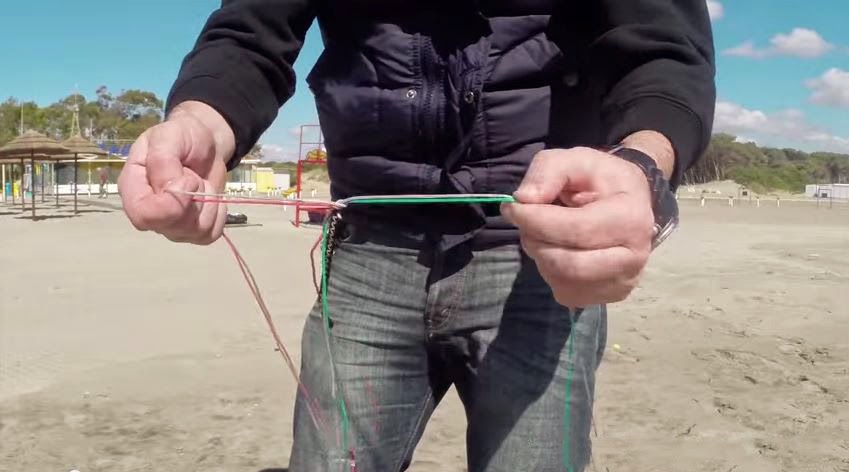
- Detach the lines from the Looper connector, keeping the correct order while setting them down on the ground and attach them to the kite;
- Fly the kite.
Pros and Cons of the different Line Managers
Line Splitter (price on the website: 19.90 € - 23.15 USD)
Pros
Very small and handy
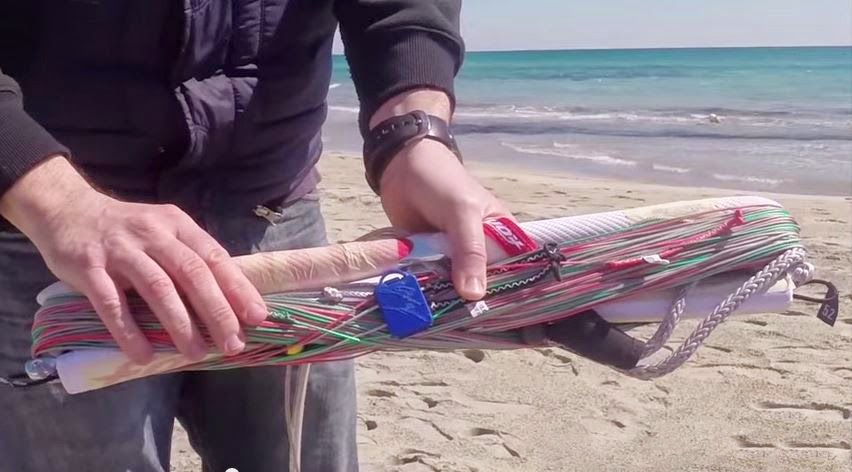
It can be left attached to a backline, being always with the bar, no need to leave it on the beach
Does not add extra volume to the bar when it has to be stored or for trips
A very good point for this device consist in the fact that, if there is no space on a beach, you can attach the lines and unwind them with the kite directly in the water (only for real experts - beginners might have serious problems performing this operation and it might result pretty dangerous)
Cons
You have to choose the upper side of the splitter when hooking in the lines, but there is no particular indication. Otherwise you might connect reversed lines. Not very intuitive for beginners.
After connecting, unwinding the lines might sometimes result in some tangles that will require a good level of expertise, otherwise you loose the advantage of the device.
You have to store it correctly to avoid reversal of lines, causing tangles during the next session.
Very basic packaging and no additional accessories.
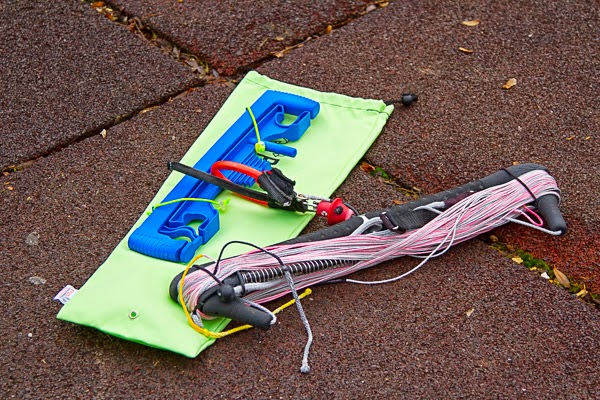
Looper (price on the website: 25.70 € - 29.90 USD)
Pros
You have clear indications on how to set up lines and it's easy to avoid confusion. Pretty useful, especially for beginners.
Winding and unwinding the lines is a very fast operation, compared to the classical operation with the bar.
It's equipped with bungees, which it connect to the bar, keeping everything in perfect order.
Packaging is very well made and you also get a nice sleeve to put in your Looper - bar system for better storage and protection of your gear.
Cons
It is something more you have to carry with you. It increases the volume of the bar by a bit, so if you have to travel, it might occupy some precious space, especially if you have more than one bar.
When you wind the lines, you have to firmly install the bar on the sand, because you need to have a bit of tension on the lines in order to store them in good order on the device. Same thing for unwinding the lines.
You basically need the same amount of space on the beach as if you were setting up the lines in a traditional way.
Conclusions.
If you don't own any of these tools, it won't prevent you from kiting, but they effectively help you with your set up process and you are in the water much faster.
The retail price is insignificant compared to the kite gear costs, so from that point of view it wouldn't be a big issue. Let's say that the slight difference of price between the two line managers makes me say you will get a much higher quality/price ratio with the Looper than with the pretty simple Kite Line Splitter: just for $6 USD of price difference you will have a more sophisticated device, including a fancy sleeve and better packaging.
Besides, I would say the Looper is more beginner-friendly.
The Kite Line Splitter, on the other hand, might be a better solution for frequent travelers (see my blogpost on how to avoid kitesurfing gear transportation fees by airlines), who need to minimize the amount of accessories they carry with them and, as I mentioned before, it can be more useful in a situation where the beach is very narcols text-justify, but only by very experienced kitesurfers.
I hope you enjoyed my experience with these kitesurf line managers, but I am very interested in your opinion, too. What do you think about them?

Steel Water Bottle
Logo: Yoga Kite Love
Promote your Kite School for free!
Index your Kite School in our database.
You will get free lifetime visibility on Kitesurf Culture website.
If you have a website, it will provide precious backlinks to improve your SEO ranking
Relevant Posts

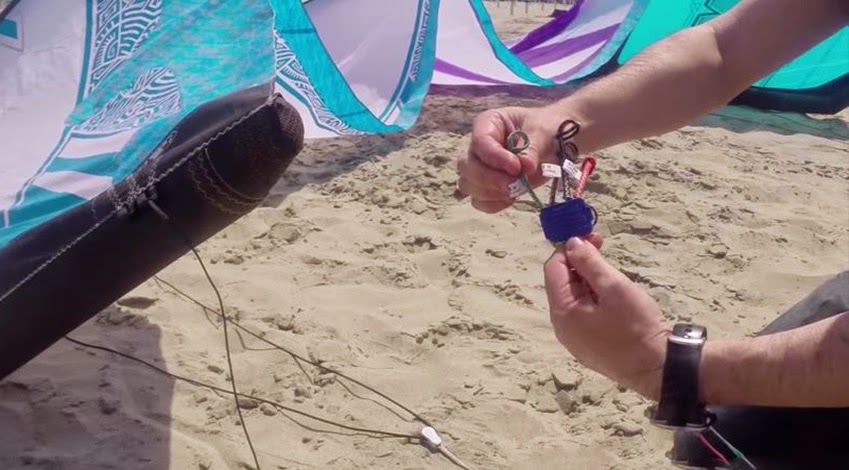
3 ways to manage car keys while out kite surfing.

Safety Kitesurf Hook Knife, a must to have in your sessions
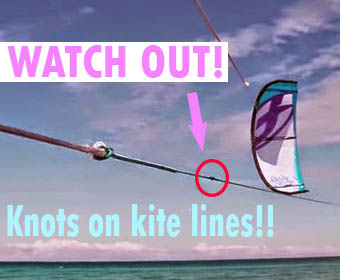
Knots on Kite Lines... Watch Out!
How to Give Your Kitesurfing Equipment a Double Lifespan
The easiest way to get injured while kitesurfing? Kiteboard Leash!
Get free Kitesurfing Resources and Tips
If you like our content and you want to be informed on the next blogposts release, please subscribe here. That will also help us to continue to provide quality content:
Give us your opinion.
Comments

myhuongle quyen
Thanks for sharing, nice post! Post really provide useful information!
6 years ago
Phone Cases
Logo: When life gives you wind go kiting
Promote your Kite School for free!
Index your Kite School in our database.
You will get free lifetime visibility on Kitesurf Culture website.
If you have a website, it will provide precious backlinks to improve your SEO ranking
Relevant Posts
3 ways to manage car keys while out kite surfing.
Safety Kitesurf Hook Knife, a must to have in your sessions
Knots on Kite Lines... Watch Out!
How to Give Your Kitesurfing Equipment a Double Lifespan
The easiest way to get injured while kitesurfing? Kiteboard Leash!
Toddler Premium T-Shirt

Logo: When life gives you wind go kiting
Latest Posts
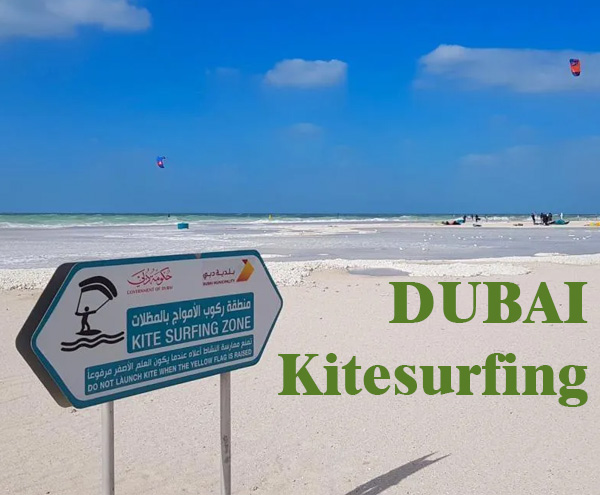
Kitesurfing Dubai: an honest guide. Tips, Spots & Winds

Unwind and learn: best beginner kitesurfing spots worldwide
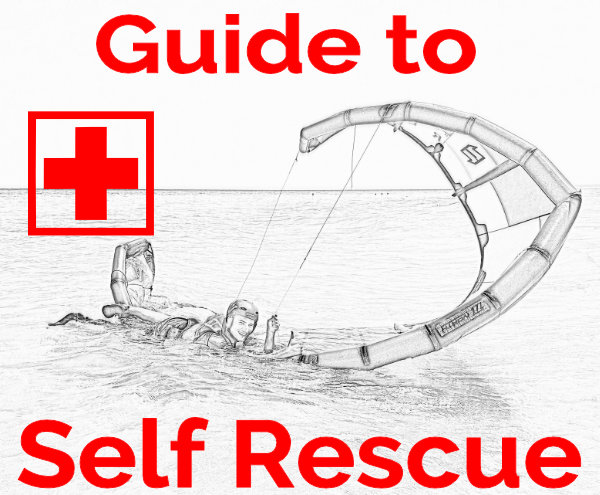
Self-Rescue in Kitesurfing: A Crucial Guide to Safety

Kitesurf Ometepe: an Epic Kite Trip to Nicaragua

Kitesurfing Spring in Andalucia: Unexpectedly Great!